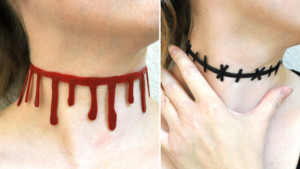
Add some fright to your spine-chilling costume with this collection of Halloween-themed 3D printed jewelry, which includes a stitched neck and dripping bloody neck.
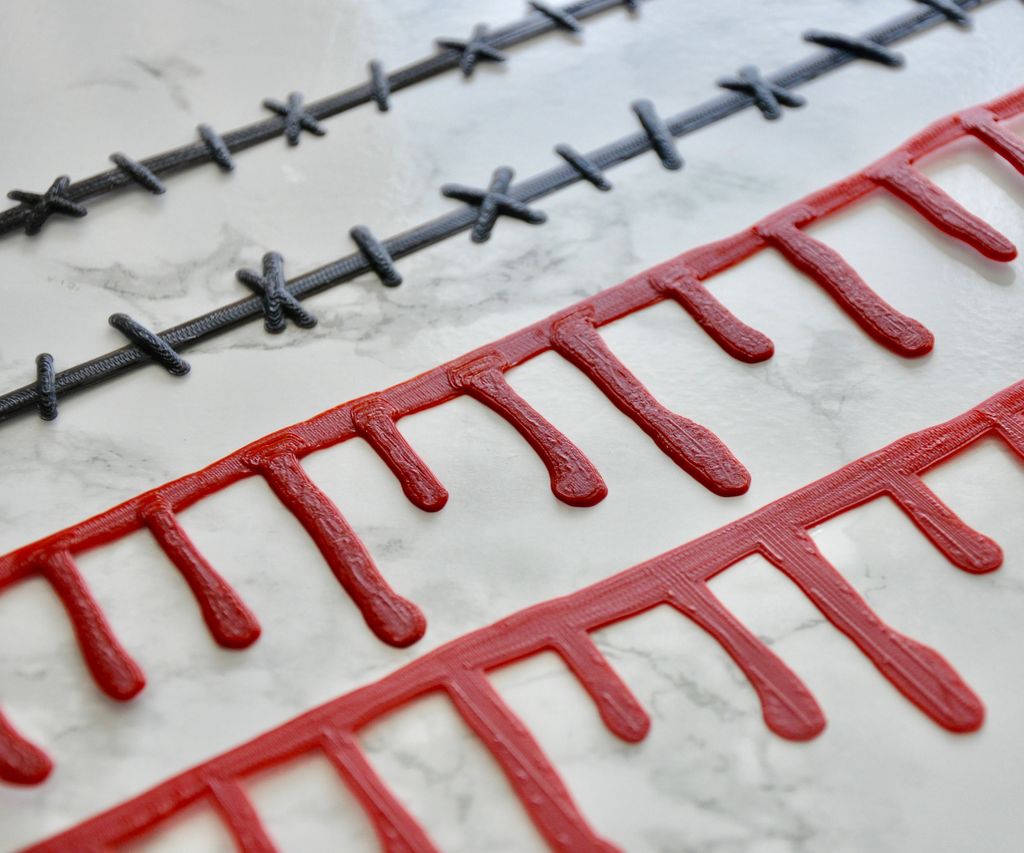
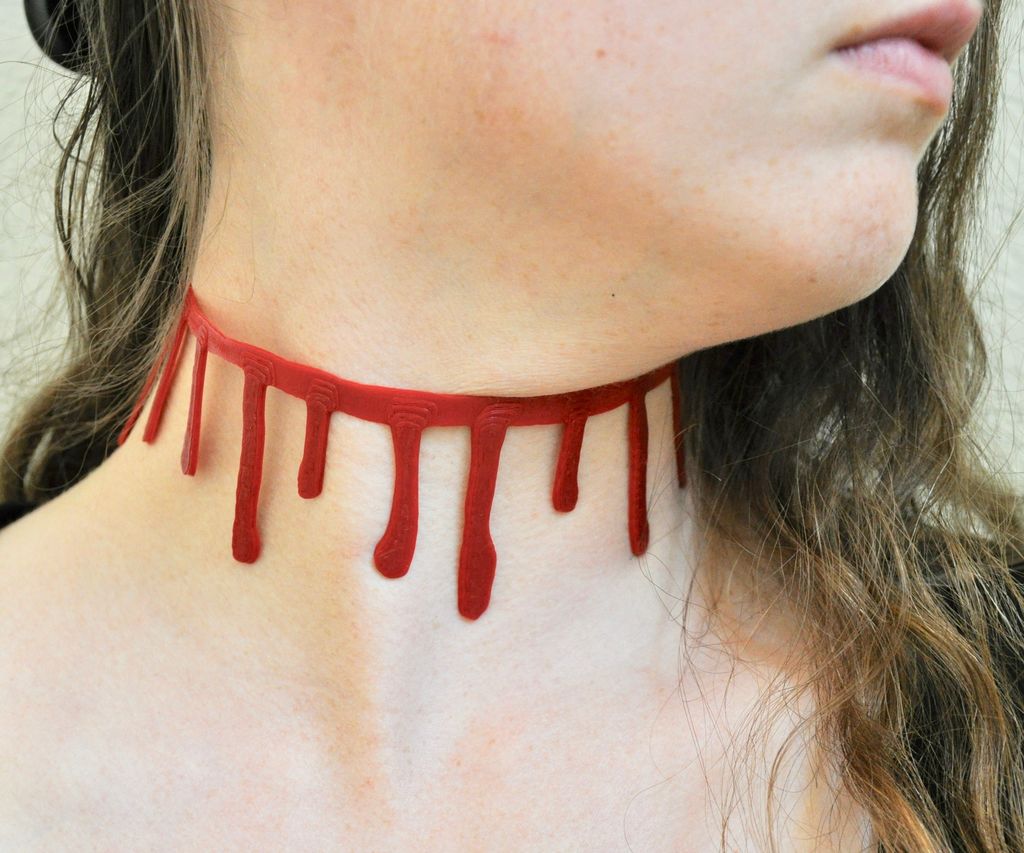
Do you need to add some extra dread to your undead aesthetic? One Instructables user who goes by the name of Penolopy Bulnick has recently shared a collection of 3D printed Halloween jewelry that will complement the most terrifying of costumes. Her latest designs include a dripping bloody neck, as well as a stitched neck and wrists.
This collection of Halloween-themed accessories are easy to make and actually look pretty realistic, making them ideal for anyone planning to go to dress up as a zombie, vampire, or Frankenstein for an upcoming costume party. The designer has shared a handful of 3D printable models that vary in size and thickness, as well as the Tinkercad files so you can customize them yourself.
With just a few affordable jewelry pieces and these 3D printed effects, you can attach dripping blood or stitches directly to your throat. Let your friends stare in horror as you parade your gory trinkets around the neighborhood. Let’s take a look at how you can 3D print your own creepy jewelry for the haunted holiday ahead.
Also, be sure to check out our other Halloween-themed Weekend Projects for more ideas:
3D Print a Creepy-Crawling Halloween Pumpkin Spider Transformer
Tell Scary Tales Over This 3D Printed Tea Light Ghost

3D Printed Halloween Jewelry: What You Need & How to Build it
You can find the STL files for the stitched neck and dripping bloody neck on the designer’s Instructables post. There, she also goes over the design process for both pieces, explaining how she created them on Tinkercad.
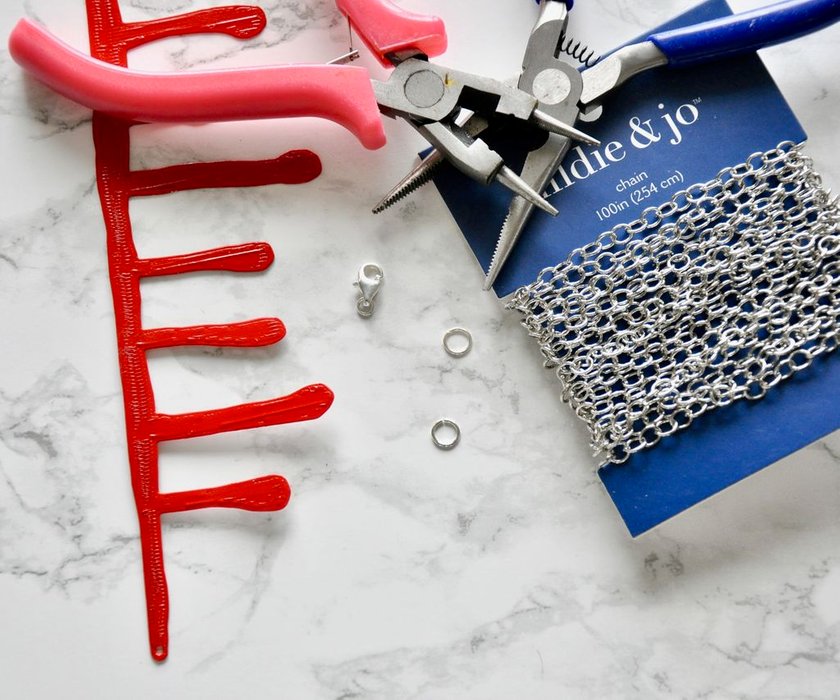
The supply list needed to create this jewelry collection is quite short. You can either use red and black filament (Penolopy Bulnick recommends Iron Red and Black from Hatchbox3D) or spray paint once the print is complete. Aside from your 3D printer and filament, here’s what else you need to make your own bloody or stitched neck:
Necklace clasps
Necklace chain
Jump rings
Needle nose pliers
Glossy red and matte black spray paint (optional)

Since these designs are so thin, you don’t really need flexible filament to wear them. However, if you want to print a thicker version or improve the comfort a bit, a flexible material like TPU might be worth investing in. Otherwise, when loading these models into your 3D printing slicer software, double check them to make sure they aren’t too thick. If you decide to print the thicker version of the bloody neck with regular filament, the band of the design should only be two layers high.
The next step is dependent on what color filament you’re using. If you’ve already got the right color extruding out of your nozzle, there’s no need to worry about spray painting. For those who don’t have any red or black filament, or want to use paint to enhance the gruesomeness of the jewelry, you can just color the side of the print that will be on display. The designer uses a sealer after painting to give her slit neck a more glossy effect.
Next, add the jump rings to the corners of the print, followed by the clasp and necklace chain. Both the bloody neck and stitches are designed to be worn as a choker, so make sure the chain is long enough, but not too long. And that’s about all it takes to add some terrifying jewelry to your Halloween costume!
If you don’t have a 3D printer, you can also visit the designer’s Etsy shop and purchase the Halloween-themed jewelry for $7.

The post [Project] 3D Print a Bloody or Stitched Neck for Your Halloween Costume appeared first on All3DP.


Leave a Comment